You found or generated an SVG that looks perfect on screen. Then Cricut Design Space turns it into a mess: the wrong layer cuts, a white square appears, the design imports tiny, small letters tear on vinyl, or the file will not upload at all.
The fast rule is:
Edit SVG files for Cricut in this order: remove anything that should not cut, simplify details that are too small for the blade, preserve the viewBox, separate color layers, then test the upload before optimizing. Do not start by minifying or randomly deleting code. That can make a broken cut file harder to fix.
If the file is already a clean vector, open it in SVG Editor and make targeted changes. If it started as a PNG, JPG, scan, screenshot, or AI image, convert or regenerate it first with Image to SVG or the dedicated SVG for Cricut workflow.
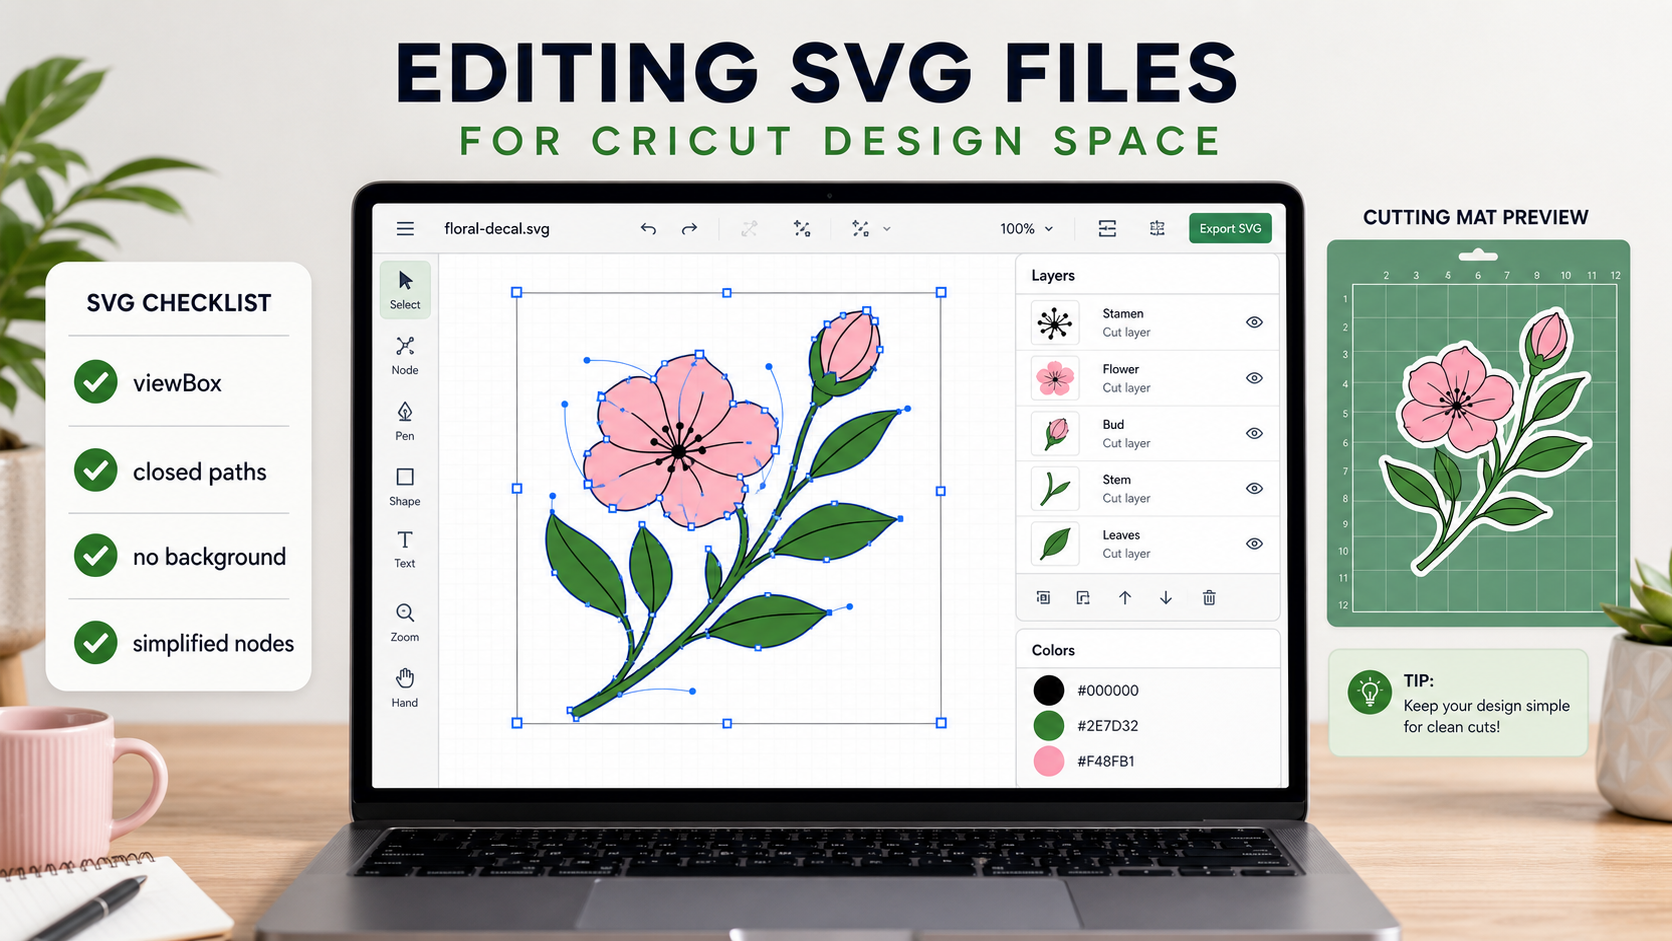
What makes an SVG file Cricut-ready?
A Cricut-ready SVG is a vector file with clean, closed shapes that Design Space can import as cut lines. It should have a valid viewBox, no accidental background rectangle, no hidden raster image, no unsupported effects, and layers that match how you plan to cut vinyl, paper, iron-on, or stencil material.
An SVG cut file is a Scalable Vector Graphics file prepared so a cutting machine can follow its vector shapes as blade paths. SVG itself is an XML-based vector format, as explained in MDN's SVG documentation and the W3C SVG 2 specification. For Cricut, the useful part is not that the file opens in a browser. The useful part is that Design Space can understand the shapes as cuttable vectors.
Cricut's own upload help says Design Space supports SVG files and imports vectors as cut lines. It also warns that upload problems can happen when SVG or DXF files include unsupported items. That means editing matters before upload, especially when the SVG came from Canva, Illustrator, Inkscape, an AI generator, a PNG converter, or a marketplace bundle.
Use this quick test before editing:
- Open a copy of the SVG.
- Confirm individual shapes can be selected.
- Search the source for
<image. - Confirm the root
<svg>has aviewBox. - Look for background rectangles.
- Check whether text is real text, outlined paths, or a raster image.
- Zoom to the final cut size and inspect tiny details.
If you cannot select real paths, you do not have a useful Cricut SVG yet. Convert the original image again with cleaner settings or recreate the artwork in a vector-first tool.
How do you edit SVG files for Cricut without breaking them?
Edit SVG files for Cricut by changing one thing at a time on a copy: color, background, text, path cleanup, layer order, or canvas size. After each meaningful edit, preview the SVG and test it in Design Space. The destination test matters more than the editor preview.
The safest 10-minute workflow is:
- Duplicate the original file.
- Open the copy in SVG Editor.
- Remove anything that should not be cut.
- Fix colors and layer groups.
- Convert risky strokes into filled shapes when the line width matters.
- Keep or repair the
viewBox. - Simplify noisy paths only after the artwork looks right.
- Save the edited SVG with a new filename.
- Upload the copy to Cricut Design Space.
- Test cut on scrap material before using good vinyl or cardstock.
Do not combine all cleanup steps in one pass. If the exported SVG breaks, you need to know which edit caused it.
Which SVG edits are safe before Cricut upload?
Safe Cricut SVG edits are the ones that preserve cuttable geometry: changing fills, removing backgrounds, deleting stray shapes, simplifying obviously noisy paths, fixing the canvas, and organizing color layers. Risky edits include deleting definitions, flattening masks, using filters, relying on strokes, or editing complex path data without previewing.
Use this decision table:
| SVG part | Usually safe for Cricut | Be careful when |
|---|---|---|
| Fill color | Change selected shapes to match vinyl layers | Many near-identical colors should become one layer |
| Background rectangle | Delete it if it is not part of the design | It may be the actual sticker border or badge shape |
viewBox | Preserve it or add safe margin | Cropping too tightly can cut off strokes |
| Paths | Remove small specks and obvious noise | The path defines detailed lettering or a brand mark |
| Strokes | Convert important strokes to filled outlines | Thin strokes may not cut as visibly as they preview |
| Text | Outline final text for predictable cutting | Editable fonts may substitute or shift |
| Gradients and filters | Avoid for pure cut files | They are display effects, not useful cut layers |
| Masks and clip paths | Flatten only after testing | Shape references can break if IDs change |
For broad SVG editing, the SVG file editor guide explains visual editing versus code editing. For craft work, the extra question is always: "Will the blade know what to do with this shape?"
If the destination is a laser rather than a blade cutter, use the SVG for laser cutting preflight to separate cut, score, and engrave operations and remove duplicate paths before importing the job.
How do you remove backgrounds from Cricut SVG files?
Remove backgrounds from Cricut SVG files by selecting the background shape and deleting it, or by reconverting the original image with transparency if the background was traced into many fragments. A white rectangle behind the design is one of the most common reasons a cut file behaves wrong.
There are three common cases:
| Background problem | What it looks like | Best fix |
|---|---|---|
| One solid rectangle | A white or colored box behind the art | Select and delete the rectangle |
| Traced halo | Many tiny light fragments around the art | Clean the PNG first, then reconvert |
| Intentional sticker border | A shape that defines the cut outline | Keep it, but put it in the right layer |
If the source was a transparent PNG, make sure the transparency survived before conversion. If the converter traced a checkerboard preview or a white canvas, read the transparent PNG to SVG guide and reconvert from a cleaner source.
How should Cricut SVG layers be set up?
Cricut SVG layers should match the material and color decisions you will make in Design Space. Single-color vinyl files should usually become one clean filled shape. Multi-color files should use separate color groups with no accidental overlap, hidden objects, or tiny fragments that become extra mats.
Use this layer checklist:
- Every color you want to cut separately is visibly distinct.
- Similar colors that should cut together are merged or recolored.
- Hidden background shapes are removed.
- Decorative shadows and gradients are removed for vinyl cutting.
- Text is final before upload.
- Small holes are large enough to weed at the final size.
- Objects that must stay positioned together can be attached in Design Space.
For multi-color vinyl, avoid using soft shadows or gradient blends. A browser can render them. A blade cannot cut a gradient.
Should you edit SVG text before Cricut Design Space?
Edit SVG text before Cricut Design Space when the wording, font, spacing, or kerning needs to be final. For reliable cutting, convert final lettering into clean paths or use fonts available in your Cricut workflow. Fake AI text, raster text, and ultra-thin script letters usually need rebuilding.
The practical rule:
| Text situation | Best move |
|---|---|
| Editable text and you still need copy changes | Edit text first |
| Final text with a specific font | Outline to paths before cutting |
| AI-generated fake letters | Rebuild text manually |
| Tiny script lettering | Thicken, simplify, or increase cut size |
| Text imported as one flat image | Recreate or convert from a cleaner source |
For more detail, use the edit SVG text online guide. If the text came from an AI logo or AI graphic, the AI-generated SVG editing workflow will save you from trying to repair fake lettering path by path.
Why does an edited SVG fail in Cricut Design Space?
An edited SVG usually fails in Cricut Design Space because the file contains unsupported items, missing sizing data, embedded raster images, overly complex paths, effects that do not translate to cutting, or shapes that are not actually closed. The SVG can be valid web markup and still be a bad cut file.
Use this failure-mode checklist:
| Symptom | Likely cause | Fix |
|---|---|---|
| SVG will not upload | Unsupported SVG features or invalid markup | Save a simplified copy and remove effects |
| Design imports too small or huge | Missing or damaged viewBox | Repair sizing and export again |
| White box cuts around the design | Background rectangle was kept | Delete background or reconvert from transparency |
| Too many mats appear | Tiny color fragments became layers | Simplify colors and remove specks |
| Script letters tear | Lines are too thin at final size | Thicken strokes or cut larger |
| Cut line misses visible stroke | Stroke was not converted to outline | Expand stroke into filled shape |
| File is slow or crashes | Too many nodes from tracing | Simplify paths or reconvert cleaner |
The Cricut unsupported items help page is worth reading when Design Space rejects a file that opens elsewhere. If the file imports but looks cropped, the root cause is often the SVG coordinate system. MDN's viewBox reference explains the four-number coordinate rectangle that controls how SVG artwork maps into the visible viewport.
When should you convert a PNG instead of editing the SVG?
Convert a PNG instead of editing the SVG when the current file is a fake SVG wrapper, a messy trace, a flattened Canva export, or an AI image saved as pixels inside SVG markup. Editing cannot create clean cut geometry when the underlying file is still raster-like.
Use this rule:
| Starting file | Best workflow |
|---|---|
| Clean SVG with wrong colors | Edit SVG |
| SVG with one background shape | Edit SVG |
| PNG logo or clipart | Convert with PNG to SVG for Cricut |
| JPG photo | Simplify first or keep raster for print-then-cut |
| AI image screenshot | Regenerate simpler or convert with Image to SVG |
| PDF design | Use the PDF to SVG for Cricut workflow |
| SVG that will not open in Design Space | Diagnose with SVG won't open in Cricut Design Space |
If you sell SVG bundles, use a repeatable process. Convert the image, inspect in the editor, upload-test, then save the production file. Guessing is how one bad SVG slips into a bundle and creates support tickets.
What is the fastest Cricut SVG repair checklist?
The fastest Cricut SVG repair checklist is background, paths, colors, text, size, upload. Fix the first visible blocker before polishing the rest. A file that uploads cleanly and cuts predictably beats a beautifully optimized file that Design Space refuses.
Use this exact checklist:
- Open a copy, not the original.
- Delete accidental backgrounds.
- Remove stray dots and dust paths.
- Merge near-identical colors that should become one cut layer.
- Outline final text or rebuild fake text.
- Convert important strokes into filled shapes.
- Preserve a valid
viewBox. - Remove display-only filters, shadows, and gradients for vinyl.
- Export the edited SVG.
- Upload to Design Space and inspect mats before cutting.
- Test cut small designs on scrap material.
For most users, the easiest path is:
- Convert or generate the artwork with SVG Genie or Image to SVG.
- Inspect and edit the file in SVG Editor.
- Use SVG Optimizer only after the file passes the Design Space upload test.
FAQ
How do I edit SVG files for Cricut?
Edit SVG files for Cricut by opening a copy in an SVG editor, checking that the file contains real vector paths, removing backgrounds and stray shapes, simplifying tiny details, separating color layers, keeping a valid viewBox, then testing the edited file in Cricut Design Space.
Can I edit an SVG file online before uploading it to Cricut?
Yes. You can edit colors, paths, text, layers, backgrounds, and sizing in an online SVG editor before uploading to Cricut Design Space. For private batches or client files, a desktop workflow is usually better because it keeps files local.
Why does my edited SVG fail in Cricut Design Space?
An edited SVG can fail in Cricut Design Space when it has unsupported items, a missing viewBox, embedded raster images, too many tiny paths, hidden background shapes, masks, filters, or text that was not converted into clean cuttable shapes.
Should Cricut SVG files use strokes or filled paths?
For reliable cutting, use filled closed paths when possible. Strokes can preview correctly but behave unpredictably after import if the cutting software interprets the centerline instead of the visible stroke width.
What is the fastest way to fix a Cricut SVG?
The fastest fix is to diagnose one blocker first: background, colors, open paths, missing viewBox, too many nodes, or unsupported effects. Fix that issue, export a copy, then upload to Design Space before doing any optimization.
Bottom line
The best way to edit SVG files for Cricut is to treat the SVG as a cut plan, not just an image. Keep the geometry clean, remove anything that should not cut, make color layers obvious, preserve the viewBox, and test in Design Space before you optimize.
Start with SVG Editor if the file is already a real SVG. Start with Image to SVG or SVG for Cricut if the file came from a PNG, JPG, screenshot, or AI image and still needs clean vector paths.
Create your own SVG graphics with AI
Describe what you need, get a production-ready vector in seconds. No design skills required.
About This Article
This article was written by SVG Genie Team based on hands-on testing with SVG Genie’s tools and years of experience in vector design and web graphics. All recommendations reflect real-world usage and are reviewed by the SVG Genie editorial team for accuracy.
About the Author
SVG Genie Team
SVG Design Expert & Technical Writer at SVG Genie
SVG Genie Team is a vector design specialist and technical writer at SVG Genie with years of hands-on experience in SVG tooling, AI-assisted design workflows, and web graphics optimization. Their work focuses on making professional vector design accessible to everyone.
More articles by SVG Genie Teamarrow_forward