You converted an image to SVG and the result technically works, but it is not usable. The logo has jagged edges. The file is bigger than the PNG. A white box appears behind the mark. The text looks warped. The editor shows hundreds of tiny fragments.
Do not keep uploading the same bad source to random converters. Diagnose the symptom first.
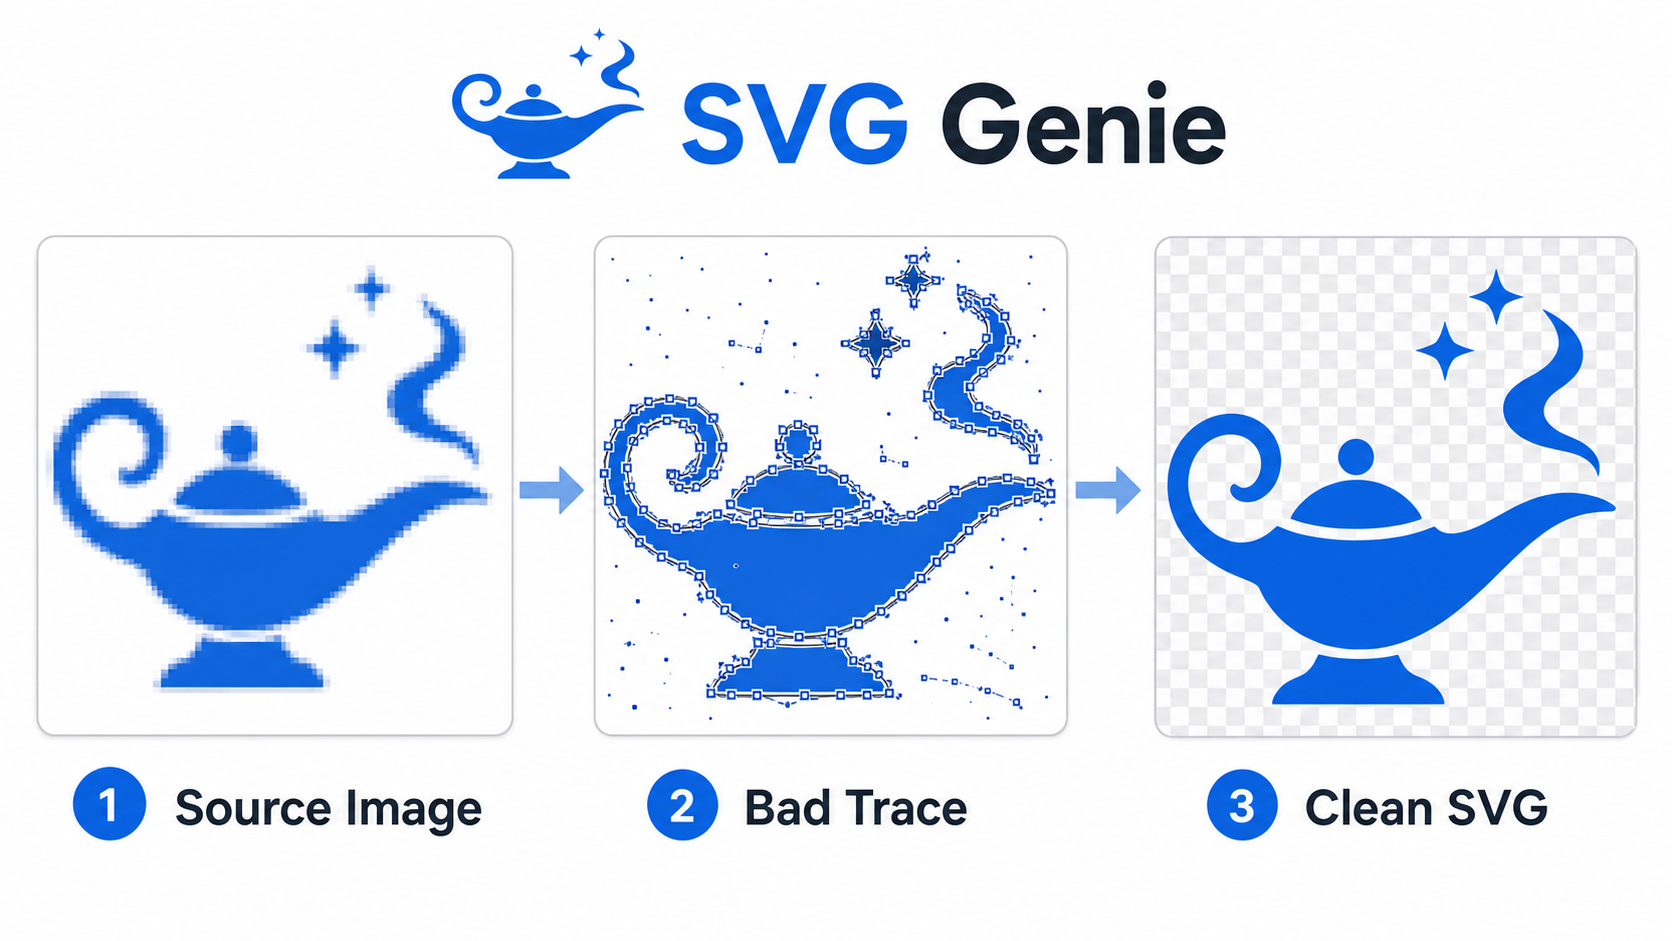
The fastest fix for bad image-to-SVG conversion is to identify whether the problem came from the source image, the converter settings, or the wrong format choice. Clean the source when the SVG has noise, adjust settings when the trace is too detailed or too rough, and recreate the graphic when the source is too blurry, photographic, or brand-critical to trace.
Why does image-to-SVG conversion go wrong?
Image-to-SVG conversion goes wrong because the converter is not recovering the original design file. It is interpreting pixels and rebuilding them as vector shapes. If the pixels contain compression artifacts, shadows, fuzzy edges, text distortion, or background junk, those flaws can become paths, fills, and fragments inside the SVG.
Image-to-SVG conversion is the process of turning a raster image into SVG geometry: paths, shapes, fills, strokes, and coordinates. MDN describes SVG as a web vector format, and the W3C SVG specification defines how that geometry is represented. A converter has to infer that geometry from a grid of pixels, which is why source quality matters so much.
Use this quick diagnosis:
| Symptom | Most likely cause | Fast fix |
|---|---|---|
| Jagged edges | Low-resolution source or too little smoothing | Use a larger source, then increase smoothing gradually |
| Thousands of paths | Too many colors, texture, shadows, or anti-aliasing traced | Reduce colors, remove noise, simplify after cleanup |
| White box behind the logo | Background was traced as a real shape | Remove the background before conversion or delete it after |
| Warped text | Raster text was traced instead of rebuilt | Recreate text with a real font or find the source file |
| File larger than PNG | Photo-like detail forced into vector paths | Keep raster format or recreate a simplified vector |
| Shape looks melted | Too much smoothing or simplification | Lower smoothing and preserve corners |
| Missing details | Noise removal too aggressive | Reduce noise filtering or keep intentional small shapes |
If you need a cleaner first pass, start with Image to SVG. If you already know the input is PNG, the PNG to SVG converter settings guide gives more precise settings by image type.
How do you fix jagged edges after image-to-SVG conversion?
Fix jagged edges by improving the source resolution first, then tuning smoothing second. Jagged conversion usually means the vectorizer followed pixel stair-steps too literally. A larger, cleaner source gives the converter better edge information before smoothing has to guess.
Try this order:
- Find the original PNG, not a JPG copy from email or chat.
- Export the source at 2x or 4x if you still have the design file.
- Remove compression artifacts and background noise.
- Convert again with moderate smoothing.
- Inspect round shapes, diagonal strokes, and corners.
- Increase smoothing only if the identity of the shape stays intact.
Do not treat smoothing like a quality slider. Too little smoothing preserves stair-steps. Too much smoothing rounds off corners, damages letterforms, and makes a logo look like a different logo.
For old logos and sketches, the broader prepare image for SVG conversion guide is the right preflight step before another trace.
Why did the converted SVG create too many paths?
A converted SVG creates too many paths when the converter keeps accidental visual detail: anti-aliased edge pixels, shadows, JPG blocks, scan dust, gradients, texture, and near-duplicate colors. Each tiny region can become a separate SVG object, even when it adds nothing to the final design.
The fastest path-count fix is:
- Reduce the color count before or during conversion.
- Remove shadows, glows, and texture unless they are essential.
- Use higher noise removal for logos and icons.
- Delete background fragments before optimizing.
- Run minification only after the visible artwork is clean.
This matters because SVG is efficient for shapes, not for pretending every pixel is a shape. A clean one-color icon may need a few paths. A noisy screenshot of that same icon can become hundreds of tiny regions.
After the visual cleanup, use SVG Optimizer or the SVG path optimizer guide to reduce markup, decimals, and unnecessary path data without hiding design problems.
How do you remove a white box or unwanted background from a converted SVG?
Remove a white box by deleting the background shape if the SVG is already converted, or by removing the background from the raster source before converting again. The best fix depends on whether the converter created one clean rectangle or many small background fragments.
Use this decision rule:
| Background problem | Best move | Why |
|---|---|---|
| One obvious white rectangle | Delete it in an SVG editor | Fastest cleanup |
| Speckles around a transparent edge | Clean the source and reconvert | Speckles are usually many fragments |
| White halo around a logo | Remove matte pixels before tracing | The halo can become real paths |
| Background is part of a badge | Keep it | Not every background is a mistake |
| Background covers artwork | Move or delete the first large shape carefully | SVG draw order matters |
If the final logo should be transparent, use transparent PNG to SVG before conversion and how to make SVG background transparent after conversion. Those are different jobs: one fixes the source raster, the other fixes an existing SVG.
Why does text look warped after converting an image to SVG?
Text looks warped because the converter traced letters as shapes from pixels instead of using the original font. This can work for large, bold, simple wordmarks, but it often fails for small type, script fonts, thin strokes, and screenshots.
Use traced text only when:
- the text is part of a logo mark
- the letters are large and high contrast
- perfect font matching is not required
- the output will not become the master brand file
Rebuild the text when:
- the letterforms must be exact
- the source is a screenshot
- small text turns wavy
- the SVG will be used for print, signage, or brand assets
- the design uses a known font you can set directly
For a one-off web graphic, a clean trace may be acceptable. For a real logo, warped text is a red flag. Use SVG Editor for cleanup if the mark is close, or regenerate a cleaner vector direction with SVG Genie when the raster source is too far gone.
Why is the SVG larger than the original PNG?
An SVG becomes larger than the PNG when vector geometry is a bad match for the image. Photos, gradients, textured artwork, and compressed screenshots can require thousands of shapes to approximate what a raster format stores naturally as pixels.
SVG is usually the better format for:
- logos
- icons
- diagrams
- badges
- flat illustrations
- line art
- simple patterns
Raster formats are usually better for:
- photographs
- realistic product images
- paintings
- screenshots
- soft gradients
- heavily textured artwork
The W3C PNG specification describes PNG as a lossless raster format, which is exactly why it can be the better final format for pixel-heavy images. SVG is powerful, but it is not a universal upgrade.
If the SVG is huge because it is messy but still vector-like, clean it and optimize it. If the SVG is huge because the source is photo-like, stop converting and keep the image as PNG, JPG, AVIF, or WebP.
Should you reconvert, edit, optimize, or recreate the SVG?
Reconnect the workflow to the actual failure. Reconvert when the source or settings were wrong. Edit when the SVG is close but has a few visible issues. Optimize when the visual result is already correct. Recreate when tracing is wasting time.
| Situation | Best next step | Good sign |
|---|---|---|
| Source has background junk | Clean source, then reconvert | New trace has fewer fragments |
| Shape is good but has extra paths | Edit, then optimize | Visual result already looks right |
| File is large but clean | Optimize | No visible design changes after compression |
| Text is distorted | Recreate text | Letterforms match the intended font |
| Logo came from a tiny screenshot | Find source file or recreate | Cleaner than any trace attempt |
| Photo was converted to SVG | Keep raster or simplify as illustration | Smaller file and better visual quality |
Do optimization last. Minifying a bad trace can make the file smaller, but it does not make the design correct. If the silhouette, background, and colors are wrong, fix those first.
What is the best workflow to fix a bad image-to-SVG result?
The best workflow is to compare the source image and SVG output side by side, identify the first visible failure, and change only the step that caused it. Randomly changing every setting usually creates a different bad SVG, not a better one.
Use this checklist:
- Open the raster source and the converted SVG side by side.
- Decide whether the problem is edge quality, background, path count, text, color, or format mismatch.
- If the source is noisy, clean the raster before reconverting.
- If the trace is too detailed, lower colors and increase noise removal.
- If the trace is too melted, reduce smoothing and simplification.
- If only a few artifacts remain, edit the SVG directly.
- If the visual result is correct, optimize the SVG.
- Test the final file at the actual size where it will be used.
For a fast repair loop, use Image to SVG, inspect the result in SVG Editor, then finish with SVG Optimizer. If you are converting old client logo files in bulk, the desktop raster-to-vector converter guide is safer than repeated browser uploads.
FAQ
Why does my image to SVG conversion look bad?
Image-to-SVG conversion looks bad when the source image is low resolution, compressed, blurry, shadow-heavy, photographic, or full of background noise. The converter traces the pixels it sees, so artifacts can become real SVG paths.
How do I fix jagged edges after converting an image to SVG?
Fix jagged SVG edges by starting with a higher-resolution image, increasing smoothing slightly, removing JPG artifacts, and simplifying only after the main shape is clean. If smoothing changes the design, recreate the vector instead of forcing the trace.
Why is my converted SVG file so large?
A converted SVG becomes large when the converter traces too many colors, gradients, shadows, textures, or tiny artifacts. Reduce colors, remove noise, delete background fragments, and optimize only after the visible shape is correct.
Why did my SVG conversion add a white background?
The converter probably traced the raster image's white or colored background as a real vector shape. Remove the background from the source image before conversion, or delete the background rectangle or fragments from the finished SVG.
Should I convert a photo to SVG?
Usually no. Photos rarely make good SVG files because they contain continuous color and texture. Keep photos as JPG, PNG, AVIF, or WebP, or recreate a simplified illustration if you need a vector style.
Bottom line
Bad image-to-SVG output is usually diagnosable. Jagged edges point to source resolution or smoothing. Huge files point to too much traced detail. White boxes point to background cleanup. Warped text points to rasterized type. Photo-like output points to the wrong format.
Start with Image to SVG when the source is logo-like, icon-like, or illustration-like. If the first output is rough, use the symptom table above before converting again. That five-minute diagnosis beats an hour of fighting a bad trace.
Create your own SVG graphics with AI
Describe what you need, get a production-ready vector in seconds. No design skills required.
About This Article
This article was written by SVG Genie Team based on hands-on testing with SVG Genie's tools and years of experience in vector design and web graphics. All recommendations reflect real-world usage and are reviewed by the SVG Genie editorial team for accuracy.
About the Author
SVG Genie Team
SVG Design Expert & Technical Writer at SVG Genie
SVG Genie Team is a vector design specialist and technical writer at SVG Genie with years of hands-on experience in SVG tooling, AI-assisted design workflows, and web graphics optimization. Their work focuses on making professional vector design accessible to everyone.
More articles by SVG Genie Teamarrow_forward