Clipart can look perfectly clean in a document and fall apart as soon as you enlarge it for a sign, shirt, sticker, or cutting machine. The usual cause is simple: the artwork is still a small raster image, even if it has been placed inside another file type.
The fastest way to convert clipart to SVG is to use the largest clean source, remove its background, trace only the artwork's real colors, and inspect the result for stray shapes before downloading. Flat PNG clipart with bold outlines often takes less than a minute. Tiny JPEGs, shadows, textures, and soft gradients need more cleanup.
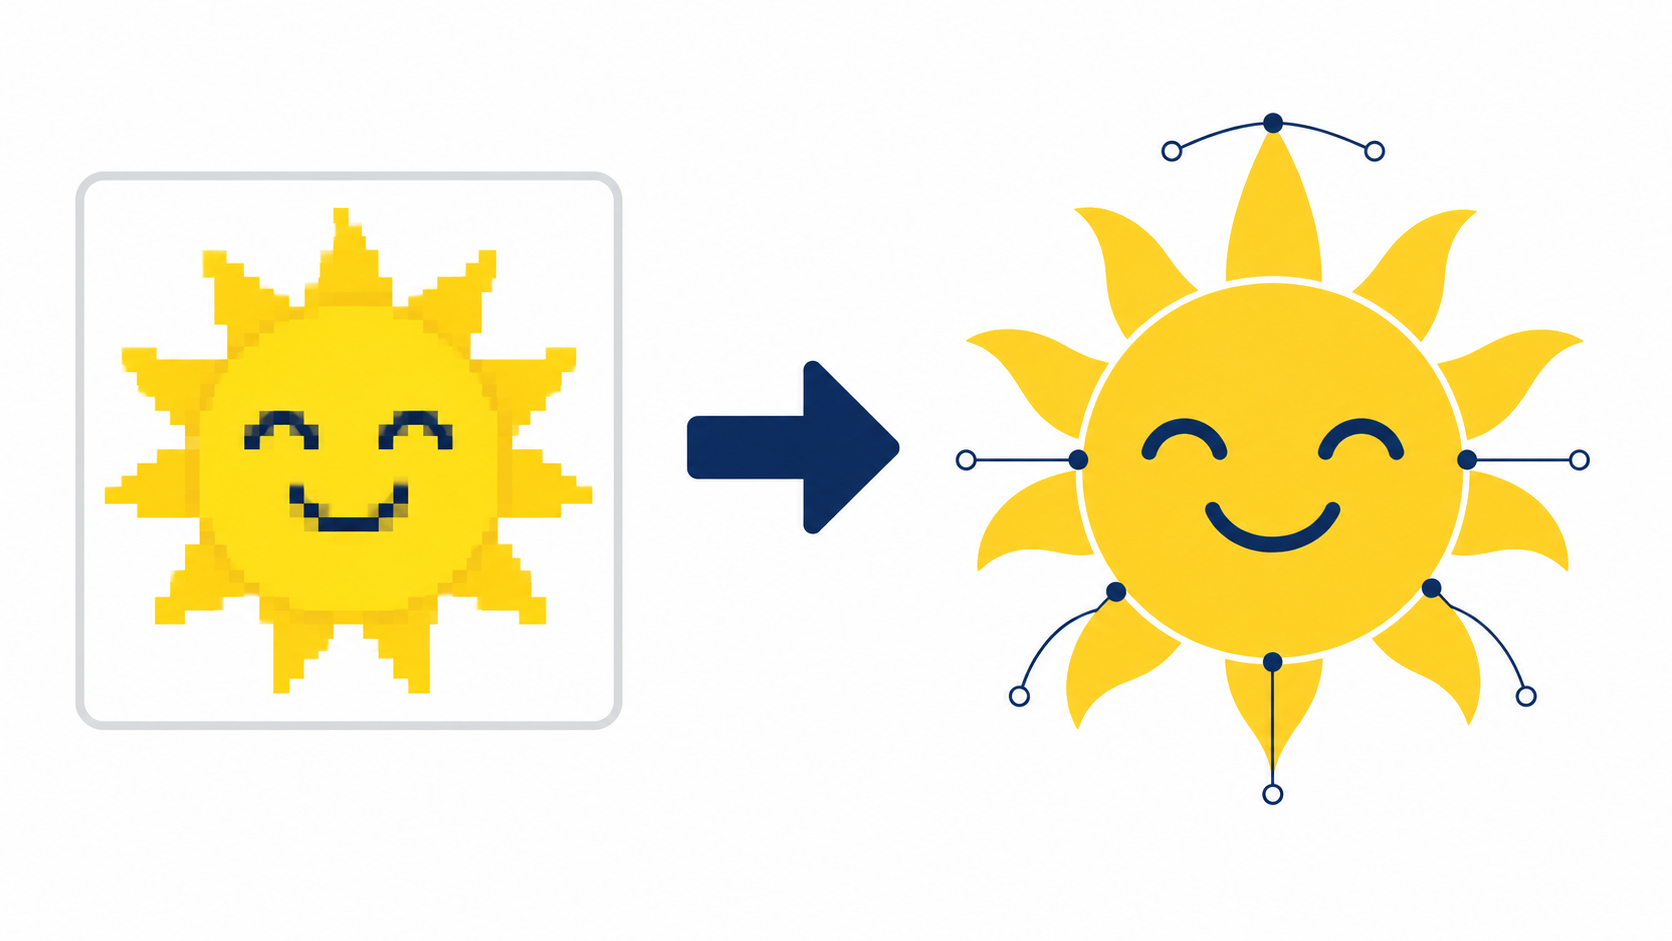
What does converting clipart to SVG actually do?
Converting clipart to SVG means rebuilding raster pixels as mathematical paths, shapes, fills, and strokes. A genuine vector result can scale without pixelated edges and may let you edit individual colors or shapes. Simply renaming a PNG or placing it inside an SVG container does not perform this conversion.
Clipart is pre-made artwork used to illustrate documents, crafts, presentations, and digital designs. It may already be vector artwork, but many downloadable clipart files are PNG or JPG images. MDN describes SVG as an XML-based vector format for two-dimensional graphics, which is why browsers and design tools can scale its geometry cleanly.
Before tracing anything, check the source extension:
- SVG, EPS, AI, or PDF: the artwork may already contain vectors; open it in a vector editor first.
- PNG: usually the best raster source because it can preserve transparency and clean edges.
- JPG or JPEG: usable, but compression blocks and white halos may become extra paths.
- WebP: can work well if the original export is large and not heavily compressed.
How do I convert clipart to SVG?
Start with the best source available, crop away empty space, and upload the artwork to an image tracer. Use a low color count for flat clipart, compare the preview with the source, then export and inspect the SVG. The cleanest trace is usually the simplest one that preserves the design.
Follow this workflow:
- Find the largest version of the clipart and confirm that you have permission to use it.
- Prefer a transparent PNG instead of a screenshot or compressed JPG.
- Remove an unwanted white background and crop excess canvas.
- Open the SVG Genie Image to SVG converter and upload the file.
- Choose settings that preserve the actual number of colors in the artwork.
- Preview thin lines, holes, corners, and enclosed spaces at high zoom.
- Download the SVG and open it in the online SVG editor for final cleanup.
- Test the result at the size and in the software where you will use it.
If your source is a PNG, use the more detailed PNG-to-SVG settings guide to balance smoothing, color count, and noise removal.
Which clipart converts cleanly to SVG?
Simple clipart with distinct shapes, a limited palette, solid fills, and sharp contrast converts most cleanly. Detailed paintings, realistic lighting, textured brushes, and tiny antialiased text create far more paths and often look worse as vectors. Choose the format based on the artwork, not the desired file extension.
| Clipart type | Likely result | Best first move |
|---|---|---|
| One-color silhouette | Excellent | Trace as one color |
| Flat icon with 2–6 colors | Excellent | Match the trace color count to the design |
| Bold cartoon with outlines | Good | Preserve outlines and inspect enclosed gaps |
| Hand-drawn black line art | Good | Increase contrast and remove paper texture |
| Clipart with small text | Mixed | Recreate the text with the correct font |
| Watercolor or textured brush art | Poor to mixed | Keep as a high-resolution transparent PNG |
| Photo-realistic clipart | Poor | Keep as WebP, PNG, or JPG |
A useful decision rule: if you can describe the image as a few colored shapes, trace it. If its look depends on thousands of subtle color changes, keep it raster.
How should I prepare clipart before tracing it?
Prepare clipart by removing visual information you do not want converted: background pixels, compression artifacts, dust, shadows, and excess canvas. Use the original download rather than a screenshot. Every visible artifact can become permanent vector geometry, so a cleaner input usually matters more than aggressive post-processing.
Use this quick preflight checklist:
- Confirm the licence permits your intended personal or commercial use.
- Locate the highest-resolution original.
- Replace a JPG with the original transparent PNG if one exists.
- Remove the background without leaving a white or gray fringe.
- Crop empty space around the subject.
- Increase contrast only when edges are genuinely unclear.
- Decide which tiny details can be removed.
- Keep an untouched copy of the source.
Do not upscale a tiny image and assume new pixels restore the original geometry. Upscaling may make the file larger, but it can also invent soft or wobbly boundaries. The image preparation guide explains how to handle faded scans, noisy backgrounds, and low-resolution inputs.
Which trace settings should I use for clipart?
Use one color for silhouettes and line art, a limited palette for flat cartoons, moderate smoothing for pixelated curves, and minimal smoothing for intentional corners. Raise noise removal only until isolated specks disappear. Settings should simplify accidental pixels without erasing recognisable features.
| Visible source | Color setting | Smoothing | Noise removal |
|---|---|---|---|
| Black silhouette | 1 color | Low to medium | Medium |
| Two-color icon | 2 colors | Medium | Low |
| Flat cartoon | Actual major color count | Medium | Low |
| Pixelated curve | Actual major color count | Medium to high | Medium |
| Fine line drawing | 1 color | Low | Low |
Avoid the temptation to select the maximum detail setting. A six-color illustration does not benefit from 64 traced colors. Extra colors usually represent anti-aliasing and compression, producing overlapping fragments that are harder to edit and cut.
Why does my converted clipart have jagged or wobbly edges?
Jagged edges usually indicate a small source image, while wobbly curves often come from compression noise or tracing too much detail. Find a larger original first. Then remove edge halos and adjust smoothing gradually. If smoothing changes the character of the drawing, manually repair the important curve instead.
Match the symptom to the first fix:
| Problem | Likely cause | First fix |
|---|---|---|
| Stair-step curves | Source is too small | Find a larger original PNG |
| Bumpy straight edges | JPEG artifacts | Use the original PNG or clean the edge |
| Rounded sharp corners | Too much smoothing | Reduce smoothing |
| Missing eye, dot, or gap | Noise filter is too strong | Lower noise removal |
| White outline around art | Background matte remains | Clean transparent edge pixels |
| Huge SVG file | Too many colors and fragments | Reduce color count and detail |
For a deeper repair flow, use the bad image-to-SVG conversion guide.
How do I know whether the download is a real vector?
Open the SVG in an editor, select the artwork, and inspect what appears. A real vector conversion exposes paths, nodes, fills, or strokes. A fake conversion often behaves as one rectangular image because the original PNG has merely been embedded inside an SVG wrapper.
You can also open the SVG in a text editor. Look for path and shape elements such as <path>, <circle>, or <polygon>. An <image> element with a long encoded data string usually means raster pixels remain embedded. The SVG specification's image element explicitly allows SVG documents to include raster images, so the .svg filename alone proves nothing.
Finally, zoom in dramatically. True vector edges remain geometrically sharp. An embedded bitmap eventually reveals pixels or blur.
Can I use converted clipart for Cricut, stickers, or print?
You can use converted clipart for crafts or print when the trace has closed shapes, clean edges, manageable path counts, and a licence covering the intended use. Test the SVG in the destination software before production; a file that looks correct in a browser may still contain overlapping or open paths.
For a cutting machine:
- use solid, closed shapes
- remove tiny islands that cannot cut cleanly
- avoid duplicate overlapping paths
- verify holes remain open in letters and enclosed shapes
- run a small material test before a large job
For stickers or print, inspect the outline at final physical size and confirm the chosen print workflow accepts SVG. If the artwork contains a licensed character, converting it to vector does not grant merchandising rights. The U.S. Copyright Office's overview explains that copyright protects original creative works; format conversion does not remove that protection.
What is the fastest clean clipart-to-SVG workflow?
Use a transparent, high-resolution PNG; trace only the meaningful colors; inspect the silhouette and interior gaps; then edit and test the result. This short sequence prevents the two most common failures: tracing unwanted background pixels and generating hundreds of unnecessary paths.
The practical order is:
- Check: confirm source quality and usage rights.
- Prepare: remove background artifacts and crop the image.
- Trace: use a restrained color and detail setting.
- Inspect: compare edges, holes, and colors with the source.
- Edit: delete stray shapes and fix important curves.
- Test: open the file in the final craft, design, browser, or print workflow.
Ready to make a scalable version? Upload the cleanest copy to the Image to SVG converter, choose the simplest settings that preserve the illustration, and review the paths before using it in production.
FAQ
How do I convert clipart to SVG?
Use the largest clean copy of the clipart, remove its background, upload it to an image-to-SVG converter, limit the trace to the artwork's real colors, and inspect the paths before exporting. Simple flat clipart usually converts better than textured or photo-like artwork.
Can I convert PNG clipart to SVG for free?
Yes. A browser-based PNG-to-SVG converter can trace simple clipart without paid desktop software. Check that the downloaded SVG contains vector paths rather than an embedded PNG, and review its edges, colors, and file size before using it.
Why does converted clipart have jagged edges?
Jagged edges usually come from a small source image, JPEG compression, or insufficient smoothing. Start with a larger PNG when possible, remove noisy pixels, and increase smoothing only enough to clean the edge without rounding intentional corners.
Can I use converted clipart commercially?
Converting a file does not change its copyright or licence. You need permission that covers your intended use, and you should retain the original licence record. Public-domain or properly licensed artwork is the safest starting point.
How can I tell whether an SVG is really vector?
Open the SVG in an editor and select the artwork. A real vector trace exposes paths and anchor points. If you see one rectangular image object or an image element in the code, the SVG probably contains an embedded bitmap instead.
Create your own SVG graphics with AI
Describe what you need, get a production-ready vector in seconds. No design skills required.
About This Article
This article was written by SVG Genie Team based on hands-on testing with SVG Genie’s tools and years of experience in vector design and web graphics. All recommendations reflect real-world usage and are reviewed by the SVG Genie editorial team for accuracy.
About the Author
SVG Genie Team
SVG Design Expert & Technical Writer at SVG Genie
SVG Genie Team is a vector design specialist and technical writer at SVG Genie with years of hands-on experience in SVG tooling, AI-assisted design workflows, and web graphics optimization. Their work focuses on making professional vector design accessible to everyone.
More articles by SVG Genie Teamarrow_forward